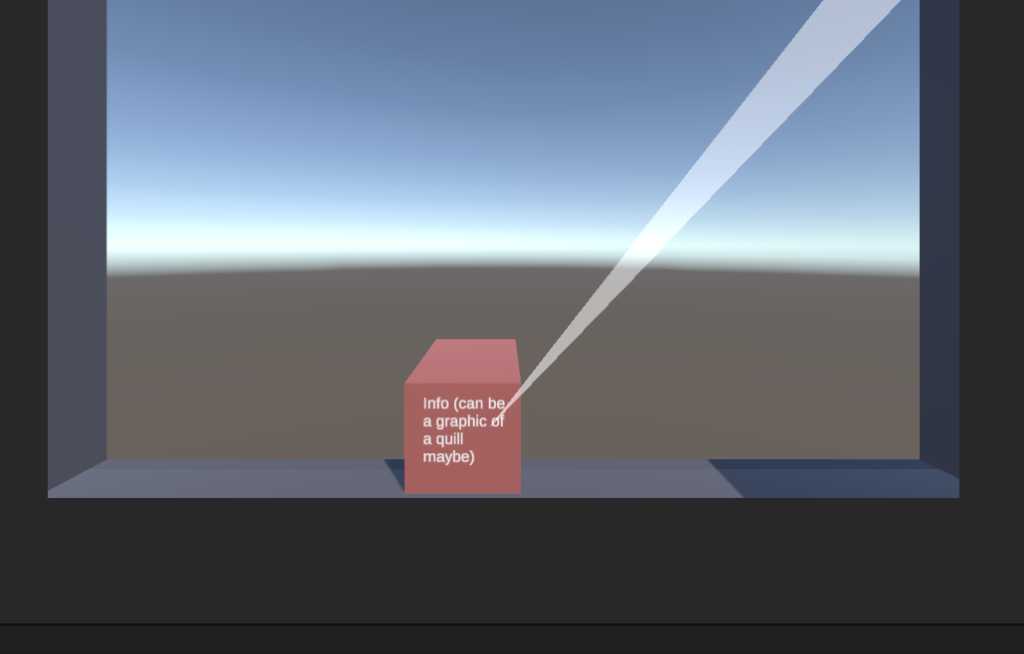
Over the past month, I’ve been developing the project UI/UX (navigation, captions) within Unity’s XR system. My final goal is to create controls that allow the user to move around the house, traverse between floors and gather information about different objects. To enable locomotion, the navigable portions of the floors are made into teleportation areas that allow for free movement throughout the scene. Free movement is more immersive than a teleportation anchor system consisting of fixed points. For computational efficiency, we want to have each floor of the house be contained in a different “scene” in Unity, with users interacting with the staircase (for example) as a way of moving between spaces. For object interactions, I want users to be able to hover over an object to see if it is interactive, displaying an icon in front of it, along with maybe a sound effect. Once an object is selected, curatorial captions will appear as if someone is “typing” across the screen. If the object is selected once the captions have triggered, the text disappears. Any subsequent time the same caption is activated, the user will not have to wait for the text to type, and will instead see the description in full. In a test scene, I have been able to get the teleportation area and hover icon working.
Screenshot of the test scene showing the placeholder icon appearing on hover.
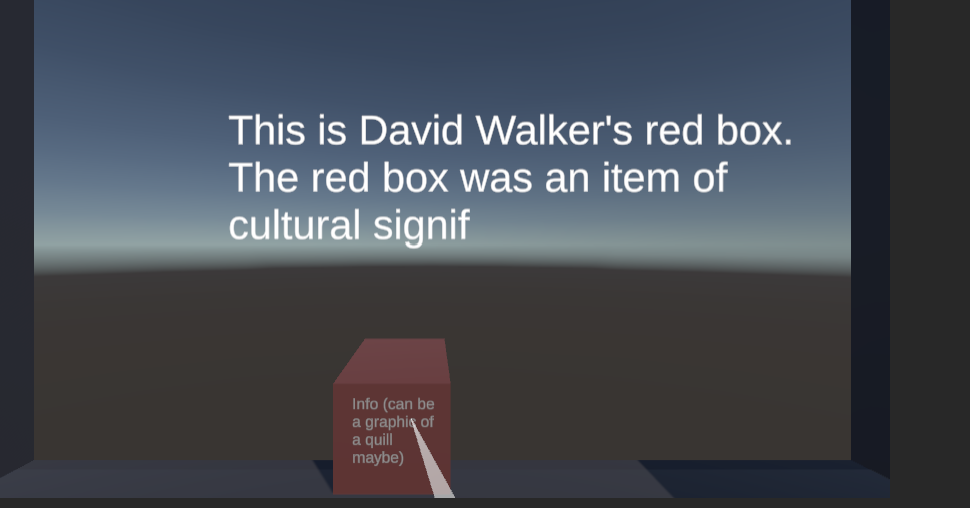
I’ve also gotten the text to appear letter by letter on the screen when objects are selected, but the user has to hold the button down for the duration of the display.
Screenshot of info text displaying.
In the next few weeks I will improve the design of these UX elements by using better graphics and typefaces. I also plan to add a teleportation reticle and the aforementioned sound effects. I hope to find a way to have the information text be triggered on selection and then disappear on the next selection which is a more intuitive progression.
Through this process, I’ve had to write a few scripts which have been a challenge as someone with minimal coding experience. As I refine the UX more, I want to learn to create more complex scripts to achieve the best end result.
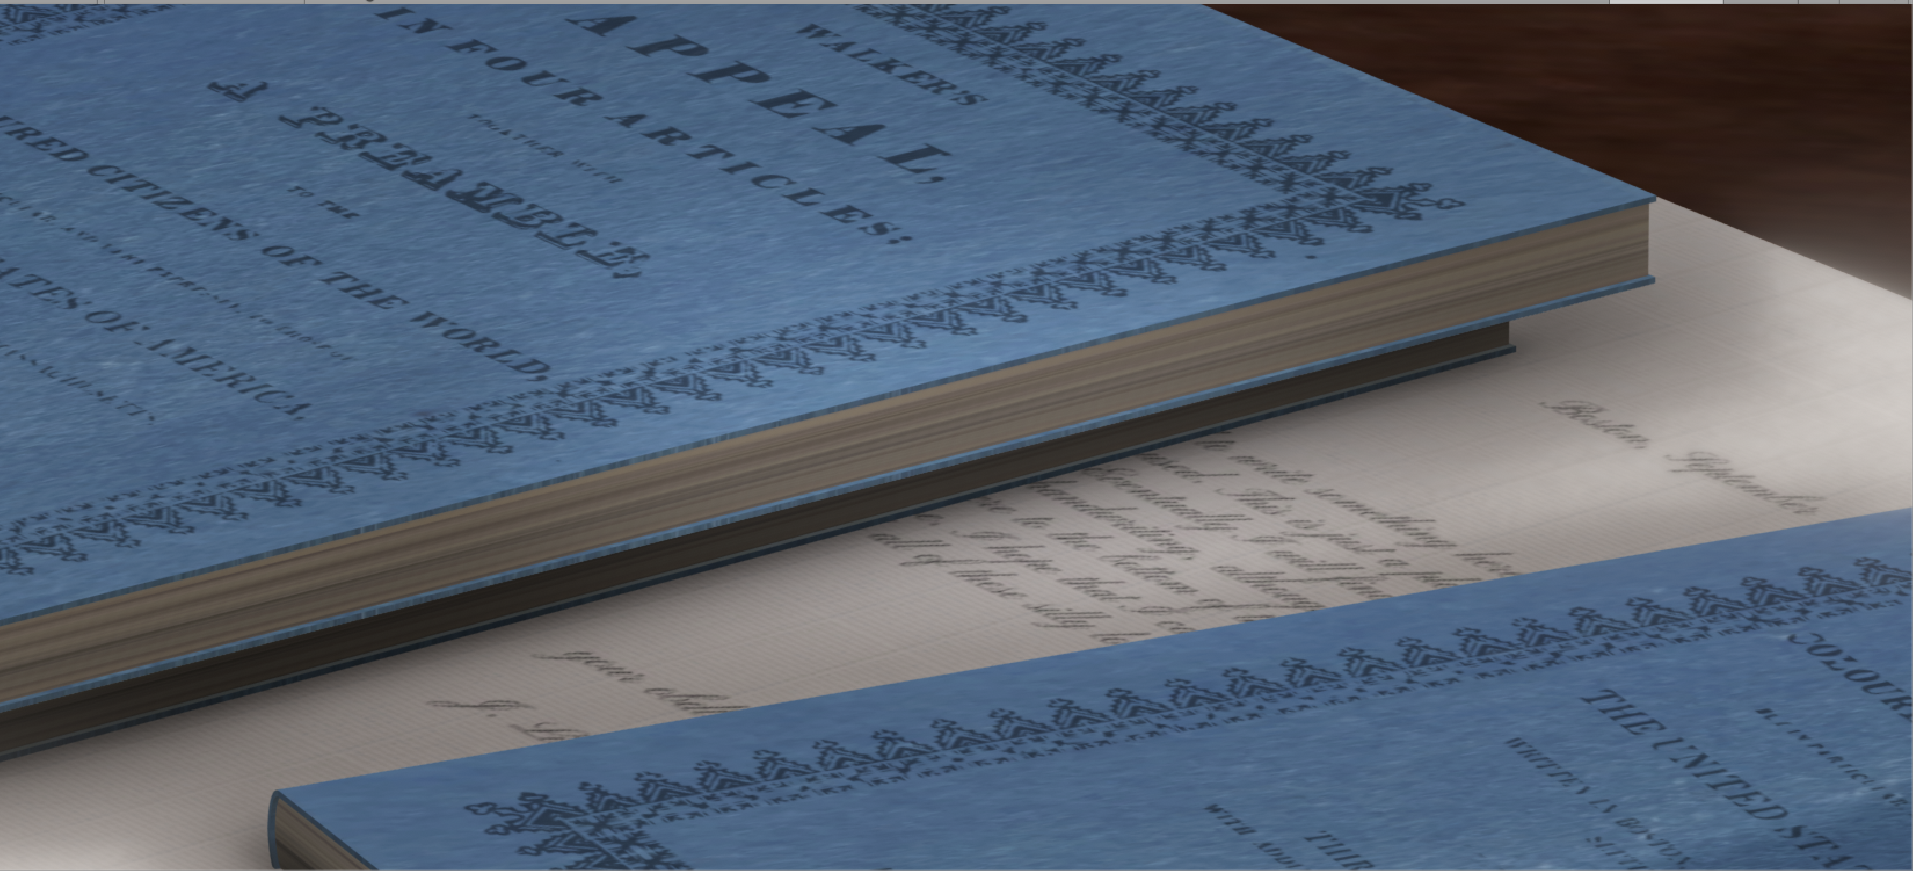
I admit I knew nothing of Boston, let alone its history, when I began this project. As a team, we were required to try to conceptualize and research how the interior of David Walker’s house looked. An African American abolitionist, David Walker lived on the Northern Slope of Beacon Hill in the 1820s, and is best known for writing his Appeal to the Colored Citizens of the World. In his influential Appeal, he addresses American hypocrisies in the context of freedom and Christianity. I have learned a large amount about Boston’s history throughout this project, finding it especially interesting to learn as I attempt to employ the perspectives used by David Walker himself.
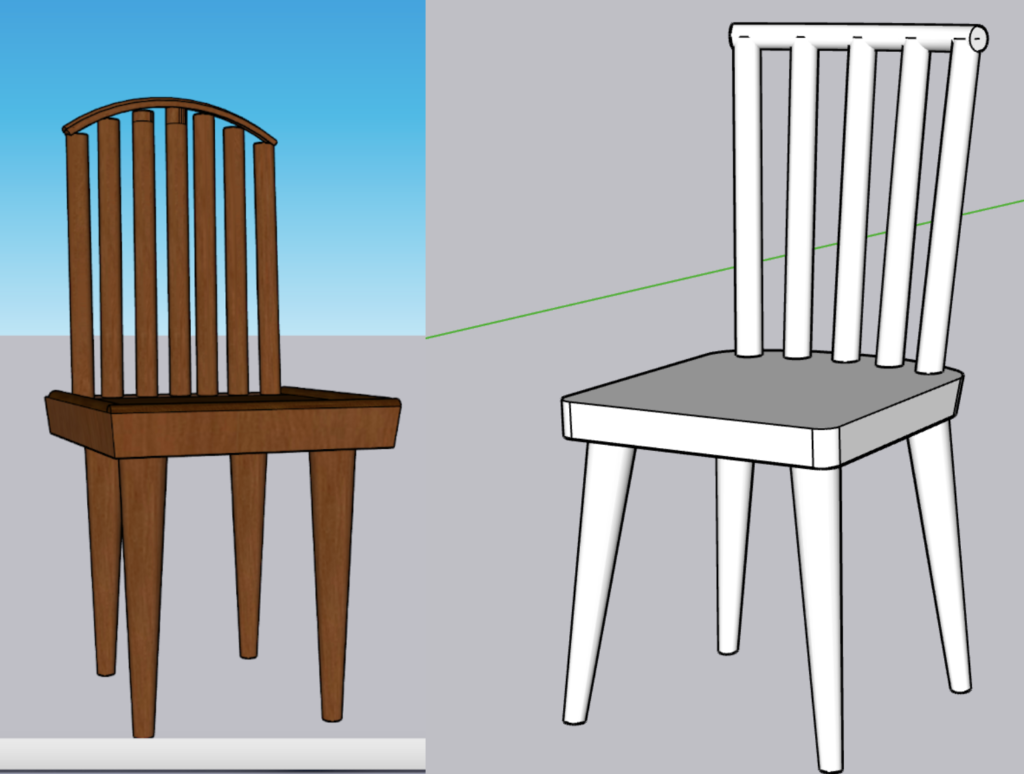
Image showing the first chair I created on SketchUp alongside an image a revised model inspired by a Windsor-styled chair.
The challenging research process has also been a conducive one. Information is hard to come across regarding the dwellings that were present in 1820s Boston, specifically on Belknap Street or the Northern Slope of Beacon Hill. In addition, with respect to the life of David Walker from birth to death, some inconsistencies were found on the internet. Through research and team discussions we were able to form an understanding of Walker’s work and part of his home life in Boston. We know he worked as a clothes dealer based on advertisements and records of the time, and that he most likely wrote some of his Appeal pamphlets at home. We also know that he was a kind man who offered help and shelter to many African American fugitives and slaves. Significantly, some two hundred years later, we do not know what the inside of his home looked like. It goes without saying that one’s dwelling can say a lot about you, and may reveal both obvious and subtle traits about your character. An attempt to virtually reconstruct the interior of this very influential person’s home will bring greater awareness of the history of African Americans in Boston. Thus, the research process was more an investigation into who David Walker was, and how connecting dots about his surroundings could help us form a visual understanding of his and his family’s home on Belknap Street (now Joy Street).
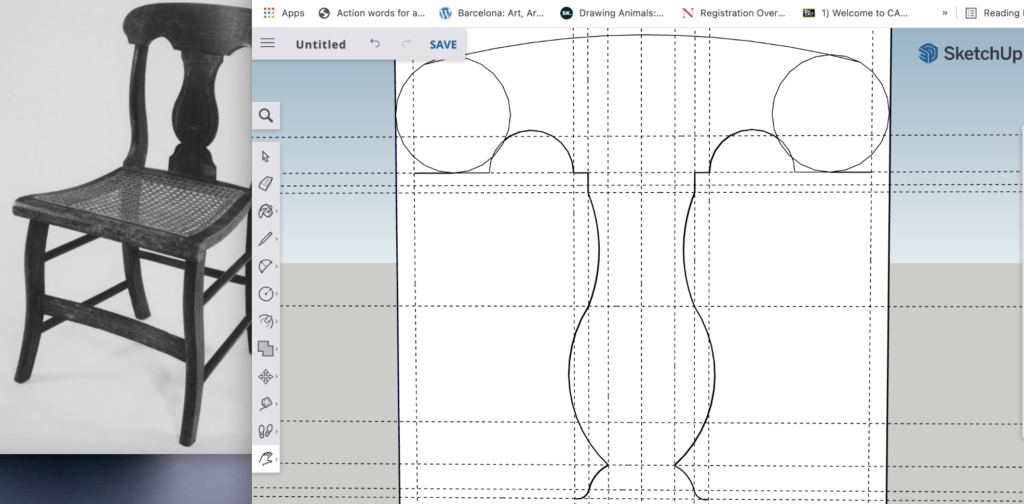
Image showing my reference picture for an Empire-style chair and a SketchUp tab showing some process on modeling the back support.
Thanks to the tutorials given by Professor Linker and Liam, learning to model in SketchUp revealed new perspectives in considering the art and design of furniture/objects. I was surprised at how much more demanding digitally constructing a rather simple-looking chair was. It forced me to decompose and recompose elements of the chair, giving me a newfound appreciation for furniture makers. I modeled two Empire-styled chairs (which was in fashion in Boston at the time Walker was living there), a pitcher with the help of a teammate, and a Windsor chair. Some challenging aspects of digitally modeling objects in SketchUp proved to teach me more rather than take away from the experience. The online SketchUp glitches often, while at other times my brain is the one glitching where I find myself overcomplicating simple design. I’ve learned to look at my reference more often, drawing it out in a simplified manner to helped me uncomplicate a seemingly complicated object.
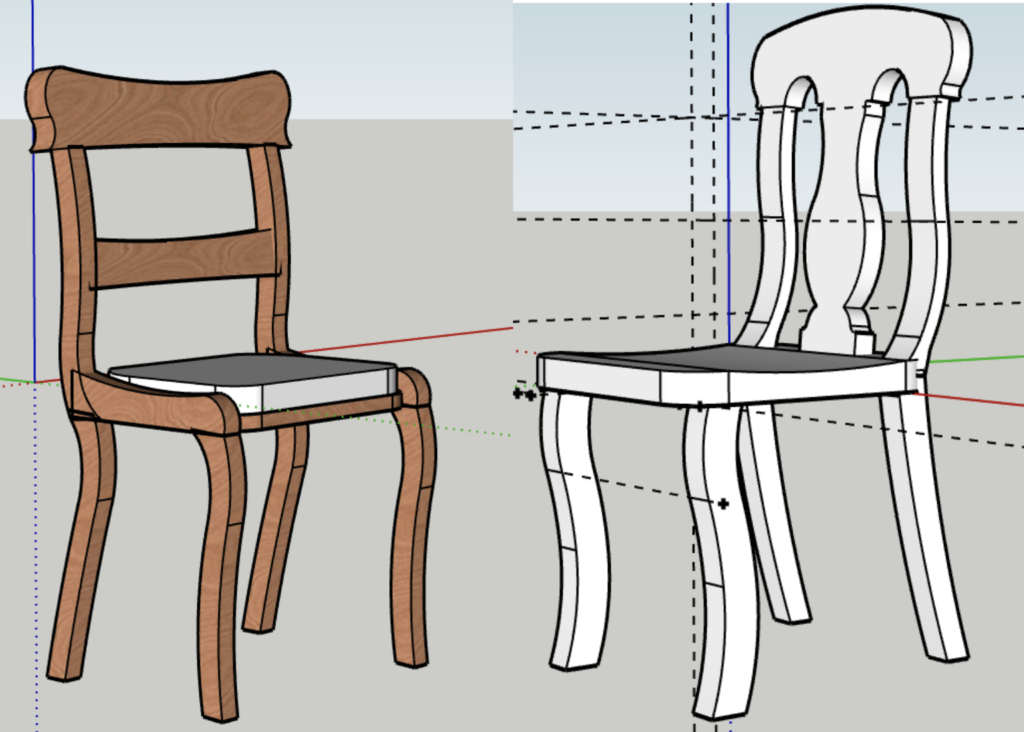
Here is an image of the two Empire-style chairs I modeled in SketchUp.
Digitally modeling antique objects, such as Empire-style chairs has caused me to first, research the chair style, the time period when it was most popular, materials used in making the chair, who made it, who owned it, and more. Although some of the information used when digitally modeling the chair – especially when the information is more specific and arcane and more than likely cannot be found – helps create a spatial sense of the chair’s home and use, the research and digital modeling assists in forming a well-rounded image of the time period. Retracing the history of a chair, or type of furniture style, then breaking it down to digitally remodel it unlocks interesting things one may have missed when researching earlier. For instance, what is the curvature of the wood? Or what is the placement of the chair? Is it placed in the living room? Bedroom? Kitchen? This chair has a cushion, and so I wonder if the cushion pattern matched other aspects of the room such as the curtains or wallpaper? All these questions about a specific chair may not be found necessarily on the internet, but they still help generate a spatial concept of where the chair lived in my mind.
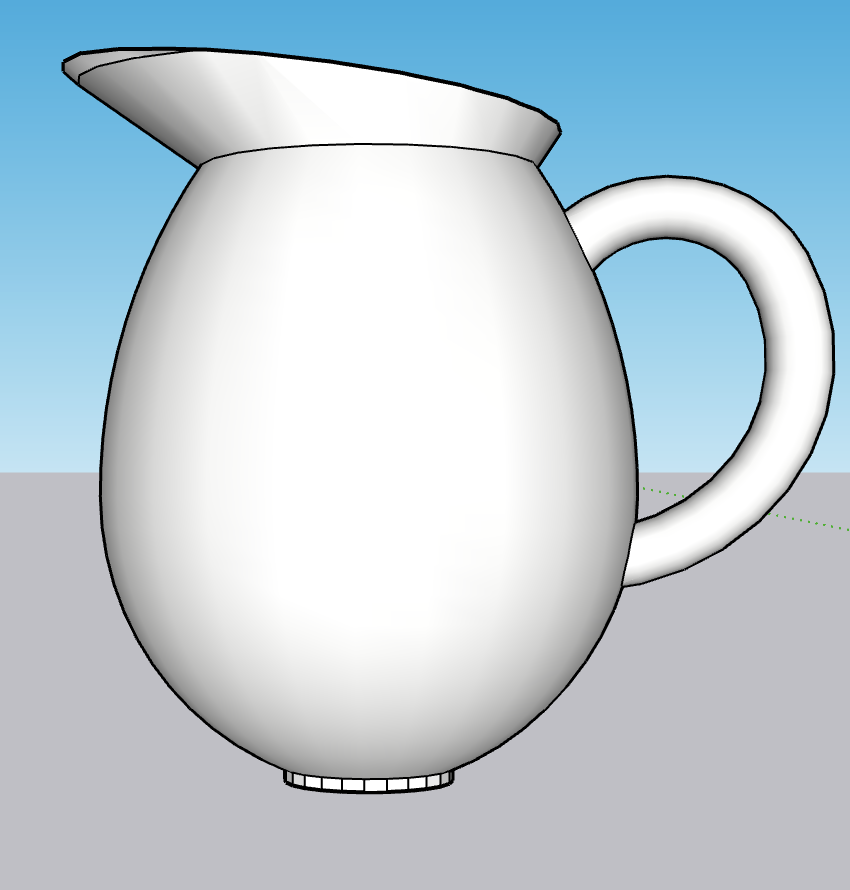
Here is a version of a pitcher that I made in SketchUp with the help of a team member.
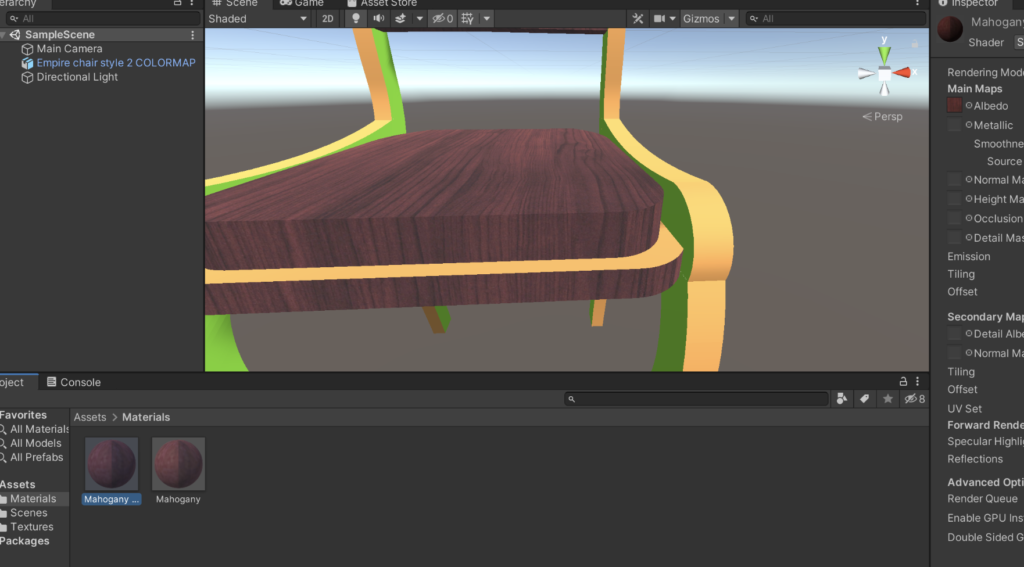
Another surprising aspect of the project was learning about Unity, how powerful of a tool it is for creating virtual spaces. Thanks to the previous team’s work, I learned the tool of color mapping an object before bringing it into Unity to be textured and playing with different finishes to make the object look more realistic was very entertaining. I look forward to learning more about the program and bringing my rather flat-looking furniture to life in Unity.
A close-up of a chair as I was applying wood textures to it.
Note: We realized yesterday that we lost some recent posts due to a server error. Over the next few days we’ll be working to restore those.
We’re now at the point in the project where the team has modeled and applied materials to several historical objects. When I teach students how to build models for virtual reality projects, I have them focus on wire-frame geometry and we map out places where we will apply materials to in the future. We build those materials in Unity and give said materials values that have them behave like glass, metal, wood, etc. They just don’t always look like these materials until we’ve added some environmental effects.
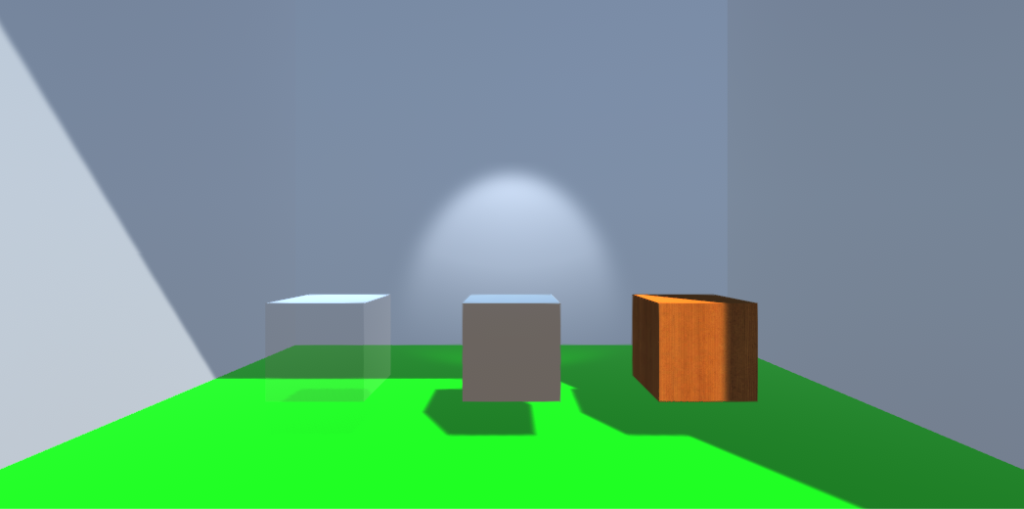
So sometimes, you spend a lot of time building objects like this and their appearance isn’t very satisfying yet:
Screenshot of Unity scene before we’ve applied reflection probes and post-processing effects. From a tutorial given by Jessica Linker and Liam MacLean on 6-17-21.
Yesterday we showed the student team how to add some layers of realism with reflection probes (Unity objects that determine what is reflected in reflective materials) and by building post-processing filters to augment what the main camera sees. The main camera usually determines what the user sees when wearing a virtual reality headset to view a project immersively.
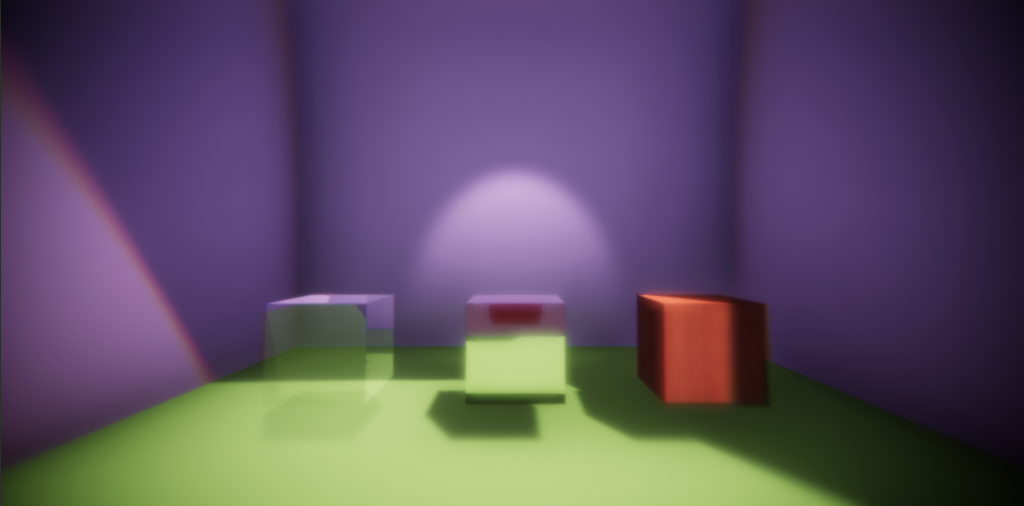
Here’s what the same scene looks like with those objects installed and some of those effects applied:
Screenshot of the previous Unity scene with reflection probes and post-processing effects applied. From a tutorial by Jessica Linker and Liam MacLean given on 6-17-21.
I was aiming for a hazy look, as if someone had groggily walked into a room and encountered three mysterious cubes. The students were asked to imagine a way to style the scene using what they learned. We ended up with a range of different looks for the same objects, from an underwater look, to a retro video game look, to a spooky, shadowed look, and so on.
I often tell them that the trick to a lot of this is to let Unity do the heavy lifting. Also, post-processing can take the same scene and change the mood quickly. It’s much better to algorithmically update the values on a post-processing profile than it is to try to swap out textures for every object in a scene to create an atmospheric mood.
Some of these effects don’t always play well in VR, but that’s something we’ll fine tune when we have an assembled project we can playtest.