VR Setup Update

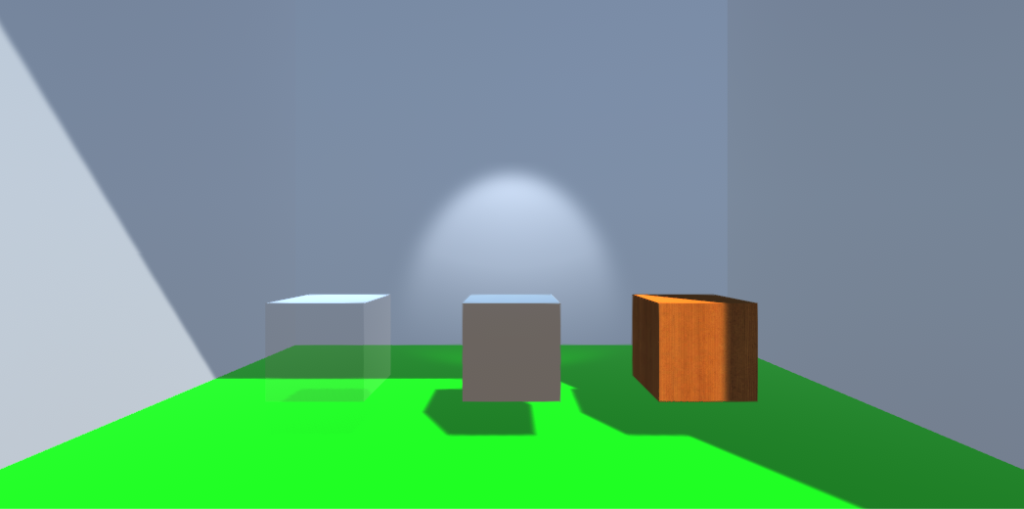
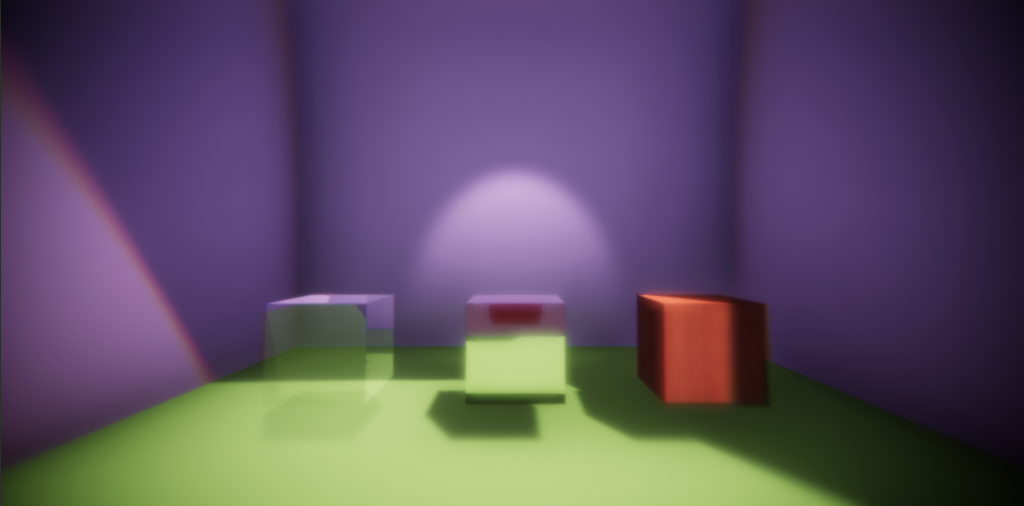
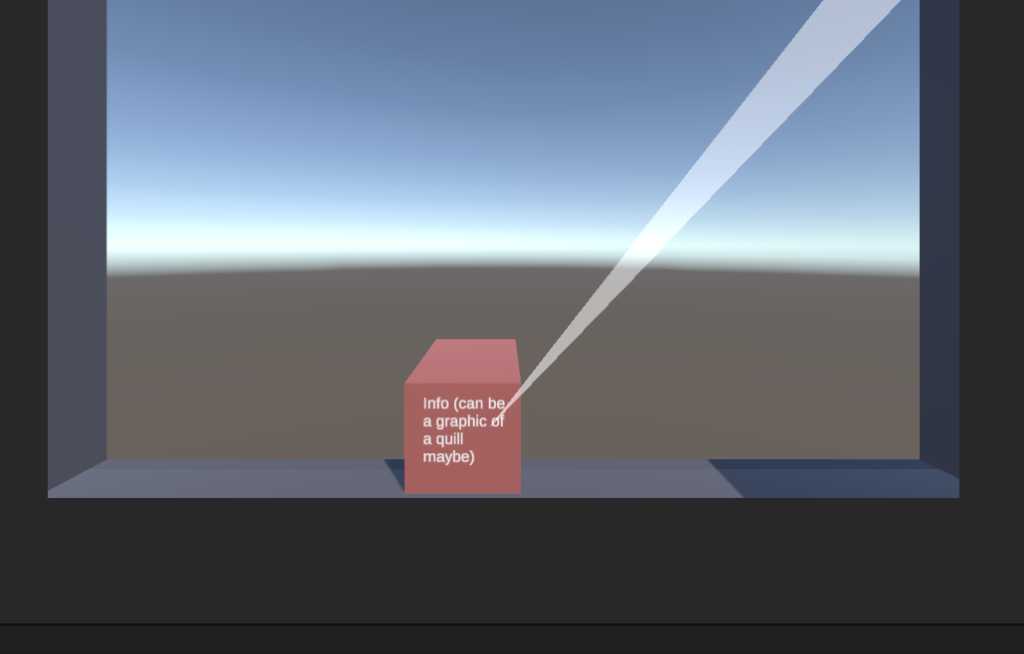
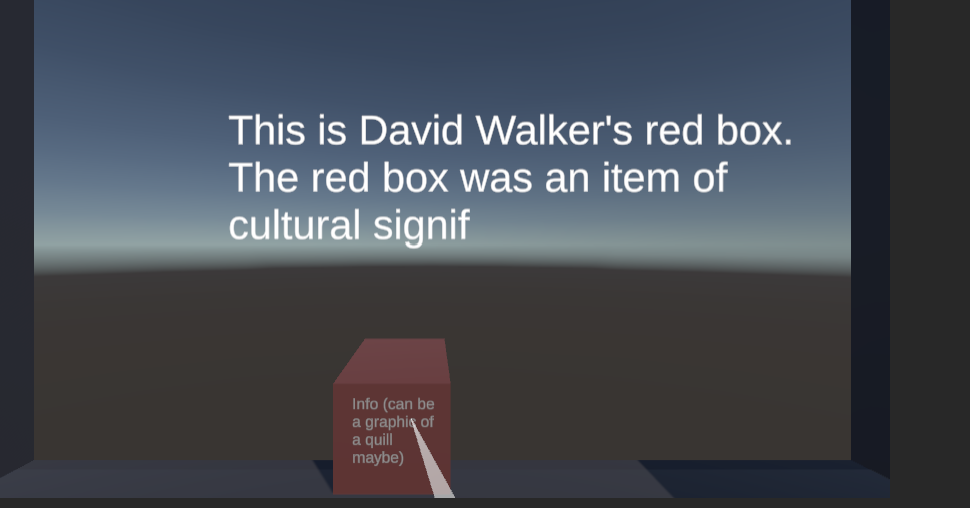
Over the past month, I’ve been developing the project UI/UX (navigation, captions) within Unity’s XR system. My final goal is to create controls that allow the user to move around the house, traverse between floors and gather information about different objects. To enable locomotion, the navigable portions of the floors are made into teleportation areas that allow for free movement throughout the scene. Free movement is more immersive than a teleportation anchor system consisting of fixed points. For computational efficiency, we want to have each floor of the house be contained in a different “scene” in Unity, with users interacting with the staircase (for example) as a way of moving between spaces. For object interactions, I want users to be able to hover over an object to see if it is interactive, displaying an icon in front of it, along with maybe a sound effect. Once an object is selected, curatorial captions will appear as if someone is “typing” across the screen. If the object is selected once the captions have triggered, the text disappears. Any subsequent time the same caption is activated, the user will not have to wait for the text to type, and will instead see the description in full. In a test scene, I have been able to get the teleportation area and hover icon working. 

Screenshot  of Test Scene showing the placeholder icon appearing on hover 
Screenshot of the test scene showing the placeholder icon appearing on hover.

I’ve also gotten the text to appear letter by letter on the screen when objects are selected, but the user has to hold the button down for the duration of the display.

Screenshot of info text display appearing
Screenshot of info text displaying.

 In the next few weeks I will improve the design of these UX elements by using better graphics and typefaces. I also plan to add a teleportation reticle and the aforementioned sound effects. I hope to find a way to have the information text be triggered on selection and then disappear on the next selection which is a more intuitive progression. 

Through this process, I’ve had to write a few scripts which have been a challenge as someone with minimal coding experience. As I refine the UX more, I want to learn to create more complex scripts to achieve the best end result. 

Post-Processing and other Environmental Effects in Unity

Note: We realized yesterday that we lost some recent posts due to a server error. Over the next few days we’ll be working to restore those.

We’re now at the point in the project where the team has modeled and applied materials to several historical objects. When I teach students how to build models for virtual reality projects, I have them focus on wire-frame geometry and we map out places where we will apply materials to in the future. We build those materials in Unity and give said materials values that have them behave like glass, metal, wood, etc. They just don’t always look like these materials until we’ve added some environmental effects.

So sometimes, you spend a lot of time building objects like this and their appearance isn’t very satisfying yet:

A 3D rendered scene including three cubes: a glass, mirror, and wooden cube, centered in a room with white walls and green floors.
Screenshot of Unity scene before we’ve applied reflection probes and post-processing effects. From a tutorial given by Jessica Linker and Liam MacLean on 6-17-21.

Yesterday we showed the student team how to add some layers of realism with reflection probes (Unity objects that determine what is reflected in reflective materials) and by building post-processing filters to augment what the main camera sees. The main camera usually determines what the user sees when wearing a virtual reality headset to view a project immersively.

Here’s what the same scene looks like with those objects installed and some of those effects applied:

Screenshot of the previous Unity scene with reflection probes and post-processing effects applied. From a tutorial by Jessica Linker and Liam MacLean given on 6-17-21.

I was aiming for a hazy look, as if someone had groggily walked into a room and encountered three mysterious cubes. The students were asked to imagine a way to style the scene using what they learned. We ended up with a range of different looks for the same objects, from an underwater look, to a retro video game look, to a spooky, shadowed look, and so on.

I often tell them that the trick to a lot of this is to let Unity do the heavy lifting. Also, post-processing can take the same scene and change the mood quickly. It’s much better to algorithmically update the values on a post-processing profile than it is to try to swap out textures for every object in a scene to create an atmospheric mood.

Some of these effects don’t always play well in VR, but that’s something we’ll fine tune when we have an assembled project we can playtest.

David Walker’s Appeal Model

3D rendered recreation of David Walker's Appeal, printed in 1830
3D rendered models of the 3rd edition of David Walker’s Appeal (1830).

This is just a quick update to show off a model made and textured by Ananya Dhandapani, with a couple of tweaks by Jessica Linker, to test a close-up of the wrappers in the test scene. Ananya will probably want to tell you more about this process at some point in the future, especially as it has involved her learning about the structure of pamphlets and asking archives about wrapper colors. For now, please enjoy this screenshot!

3D Technologies: 360 Cameras

While our project relies upon building 3D models with a modeling program, such as Google SketchUp or Blender, and then assembling them in the Unity 3D engine, we’ll be trying out various 3D and immersive technologies so the student team has an idea of how each works. Anticipating a future field trip, Angel Nieves and I went out to Beacon Hill to try out some socially-distanced 360 photography with a GoPro Max. This is one of the captures we made; since the camera can be operated remotely with a cell phone, we’re hiding around a corner and using the view finder to capture Smith Court.

Stitched panorama of Smith Court. William Cooper Nell's House, the African Meeting House, and the Abiel Smith School are visible in this image.
Stitched panorama of Smith Court. William Cooper Nell’s House, the African Meeting House, and the Abiel Smith School are visible in this image.

The camera has a stitching algorithm that merges the capture from two spherical, 180 degree lenses by identifying overlapping artifacts in each image it is piecing together. A similar technique is used to merge pictures in photogrammetry processes. Photogrammetry is a popular way of creating 3D models of physical objects through series of circuitously-captured photographs.

360 photographs require EXIF data that tell certain programs to interpret them as spherical captures rather than flat, distorted panoramas. We installed a WordPress plugin that lets us tell WordPress whether to interpret an image as a 360 image, or just a normal .jpg. The VR toggle in the lower right creates a stereoscopic view for your phone, which can be viewed with inexpensive VR devices like Google Cardboard. You can also view the image immersively in 360 by navigating to this page with a head mounted display, such as an Oculus Rift S or Quest, selecting VR mode, and looking around.

Normally, there’d be more people on the street, but because we took this picture during the pandemic, Smith Court was pretty empty. The 360 capture will be useful for thinking about spatial relationships between buildings in this area.

css.php